Worktrees
Git worktrees let you check out more than one branch at the same time, each in its own directory. Instead of stashing or committing half-finished work just to switch context, you can have a separate working directory per task — all sharing the same repository and object store.
See also git worktree in the Git documentation.
Opening the Worktree Manager
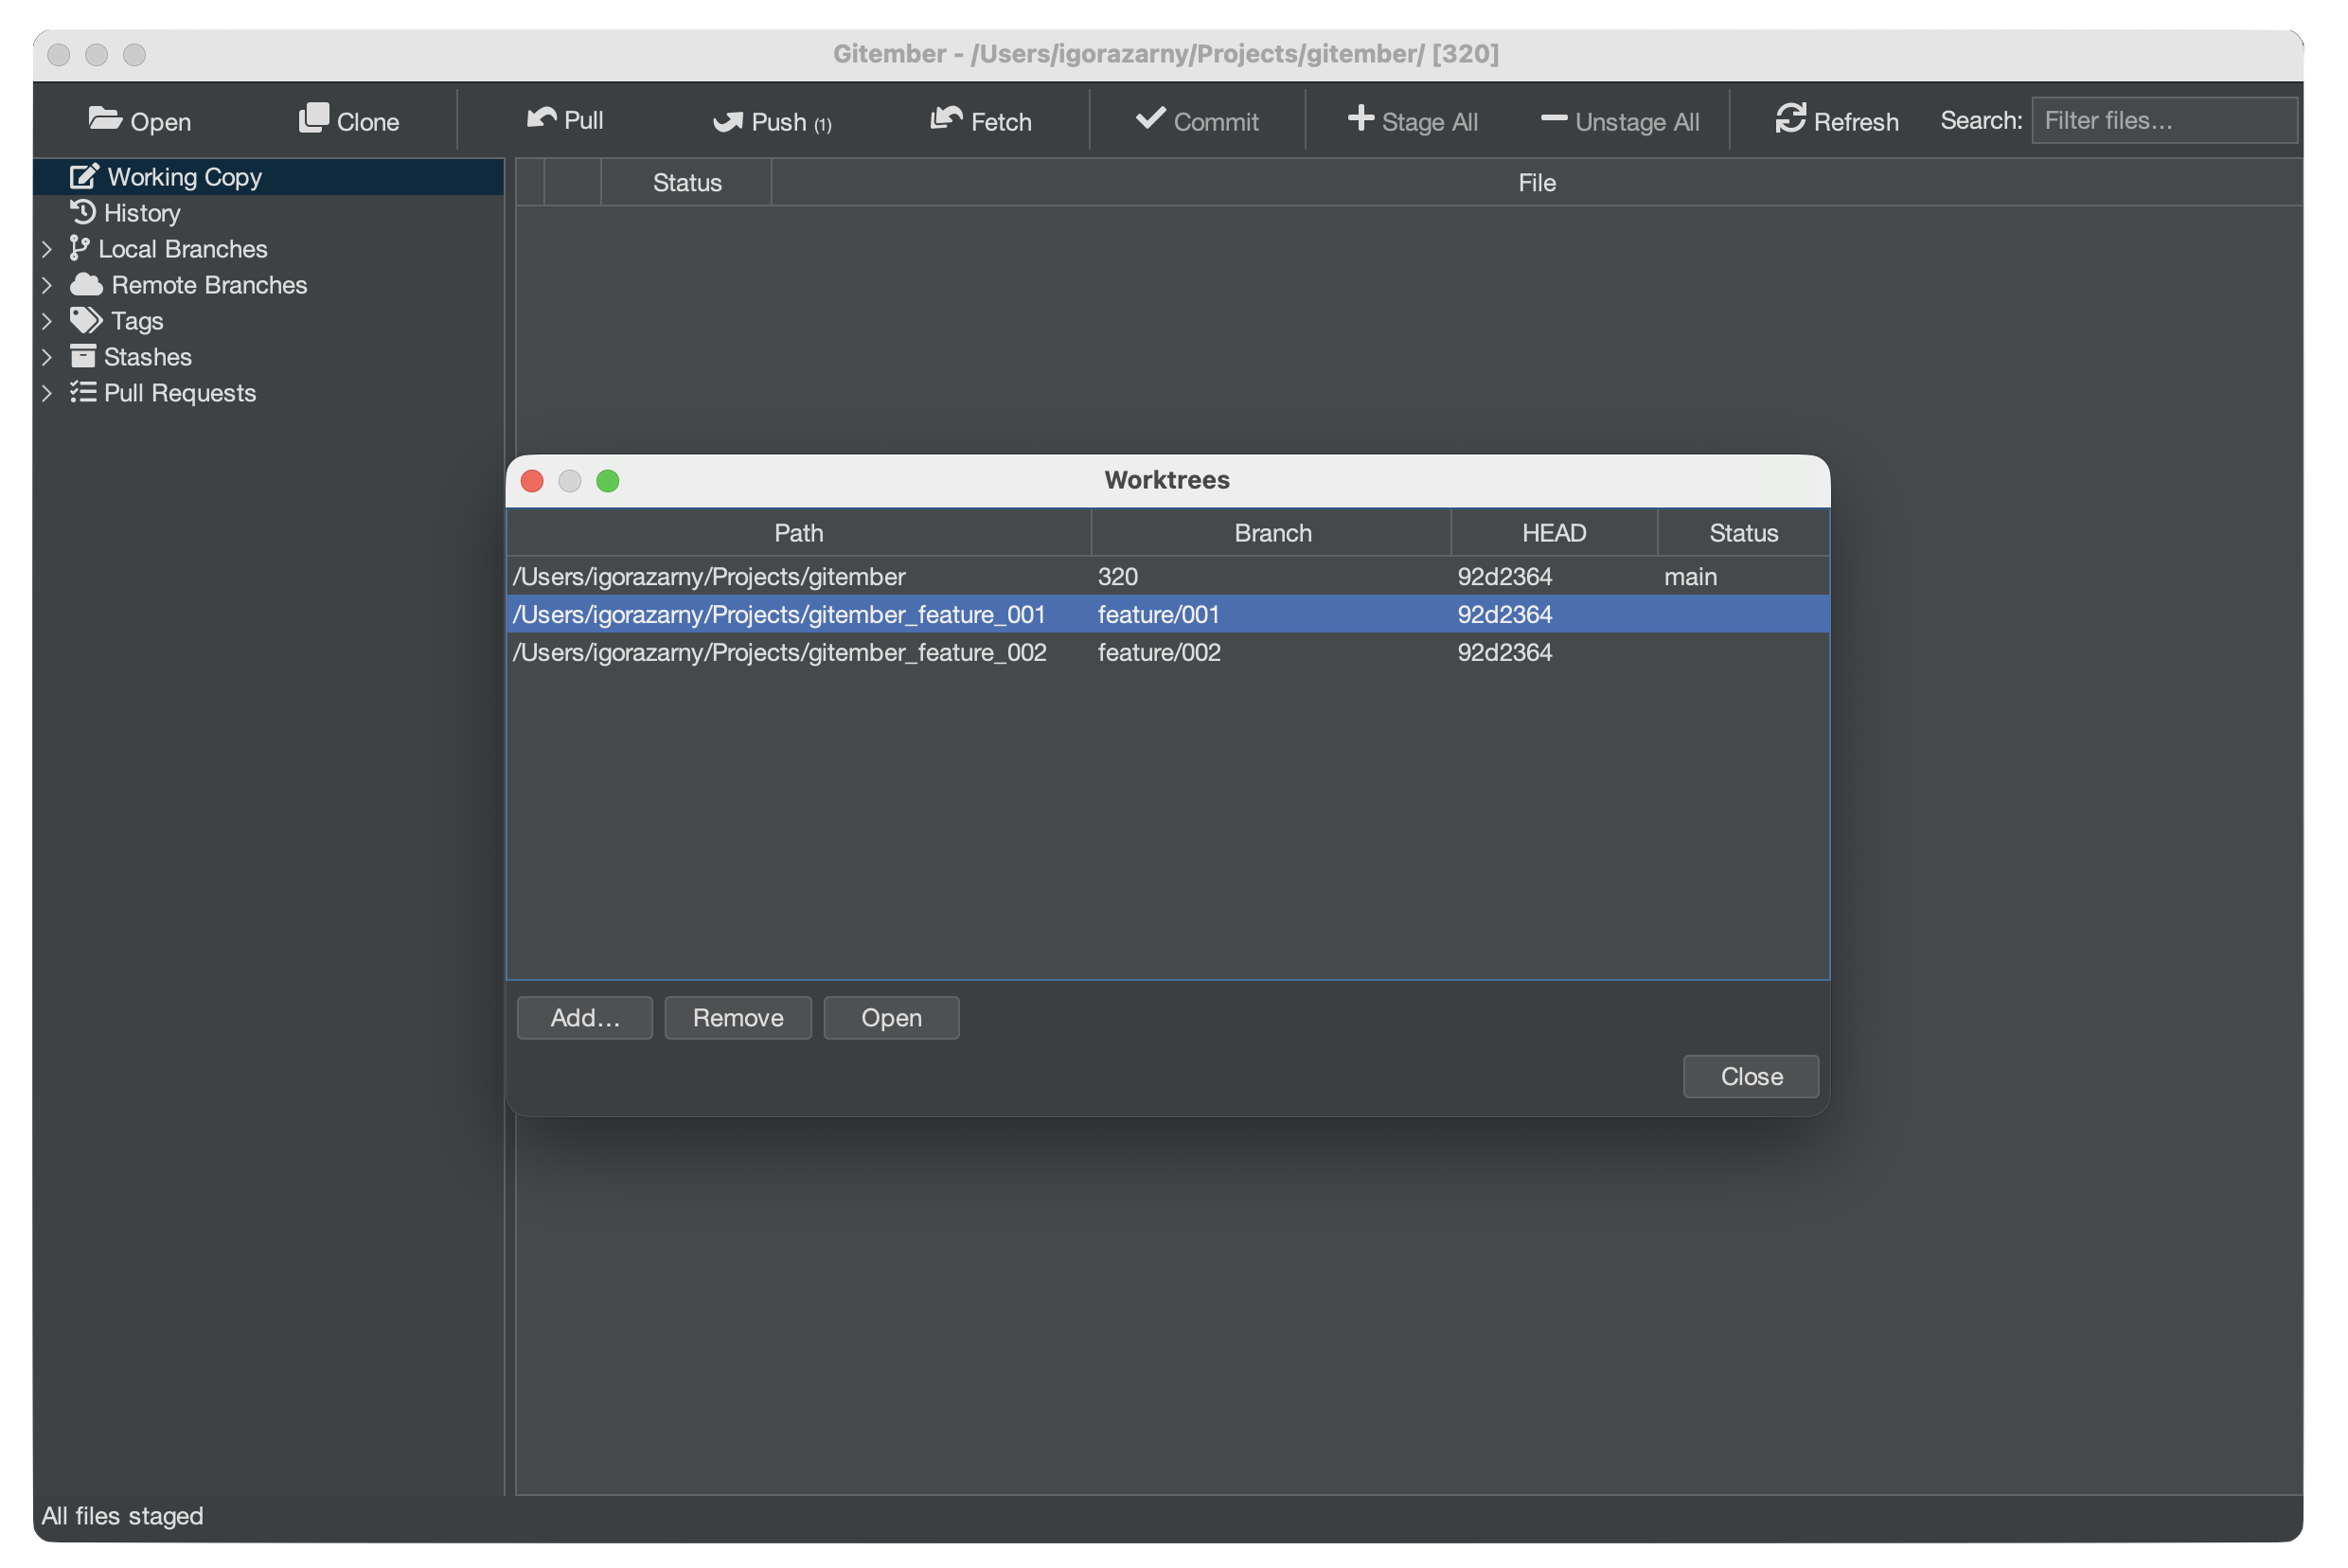
Go to tree bar

It has all worktrees and main working copy as well.
Adding a Worktree
- Click Add in the Worktree manager.
- Enter (or browse for) the directory where the new worktree should be created.
- Choose the branch to check out in that directory.
You can also create a new branch at this point. - Click OK.
Gitember runs git worktree add in the background. The new directory appears in the
list and is immediately usable — open it as a separate project or navigate to it in
your file manager.
Keep worktree directories beside the main repo folder and use a consistent naming
convention, e.g. my-repo, my-repo-hotfix, my-repo-experiment.
Removing a Worktree
- Select the worktree entry you want to remove.
- Click Remove.
Gitember runs git worktree remove, which deletes the linked directory and prunes the
worktree reference from the repository.
A worktree can only be removed when it has no uncommitted changes. Clean the working directory first (commit, stash, or discard) before removing.
Worktree Constraints
| Rule | Detail |
|---|---|
| One branch per worktree | The same branch cannot be checked out in two worktrees simultaneously. |
| Shared object store | All worktrees share commits, tags, and refs — no duplication. |
| Independent index | Each worktree has its own staging area and HEAD. |
Summary
| Action | How to trigger |
|---|---|
| Open manager | Working copy → Worktrees… |
| Add worktree | Worktree manager → Add |
| Remove worktree | Worktree manager → select entry → Remove |